Effortlessly Build Your Blog with Docusaurus
I had been using Jekyll to build my blog until I came across Docusaurus and was immediately intrigued. I decided to give it a try and migrate my blog.
Docusaurus offers a clean and intuitive user interface, powerful code block features, active community support, and a rich plugin ecosystem. Maintained by Meta (formerly Facebook), these advantages made me fall in love with it instantly.
During the migration process, I compiled steps from basic installation to meeting my personal customization needs.
What is Docusaurus?
Docusaurus is an open-source static site generator based on React and MDX, maintained by Meta. It is designed to allow users to create documentation websites quickly and effortlessly.
Here are some of its main features:
- Documentation and Blog Features: It provides out-of-the-box documentation features but can be used to create any kind of site (personal website, product, blog, marketing landing pages, etc).
- Powered by MDX: Combines Markdown syntax and React components, enabling extensible content creation.
- i18n Support: Easily create multilingual websites.
- SEO-Friendly: Automatically generates sitemaps and meta tags.
- Code Blocks: Supports powerful syntax highlighting.
- Easy Deployment: Easily deployable on platforms like Vercel, GitHub Pages, Netlify.
Installation
After installing Node.js, you can create a new Docusaurus project with the following commands:
npx create-docusaurus@latest my-site classic --typescript

# Start the local development server
cd my-site
npm run start
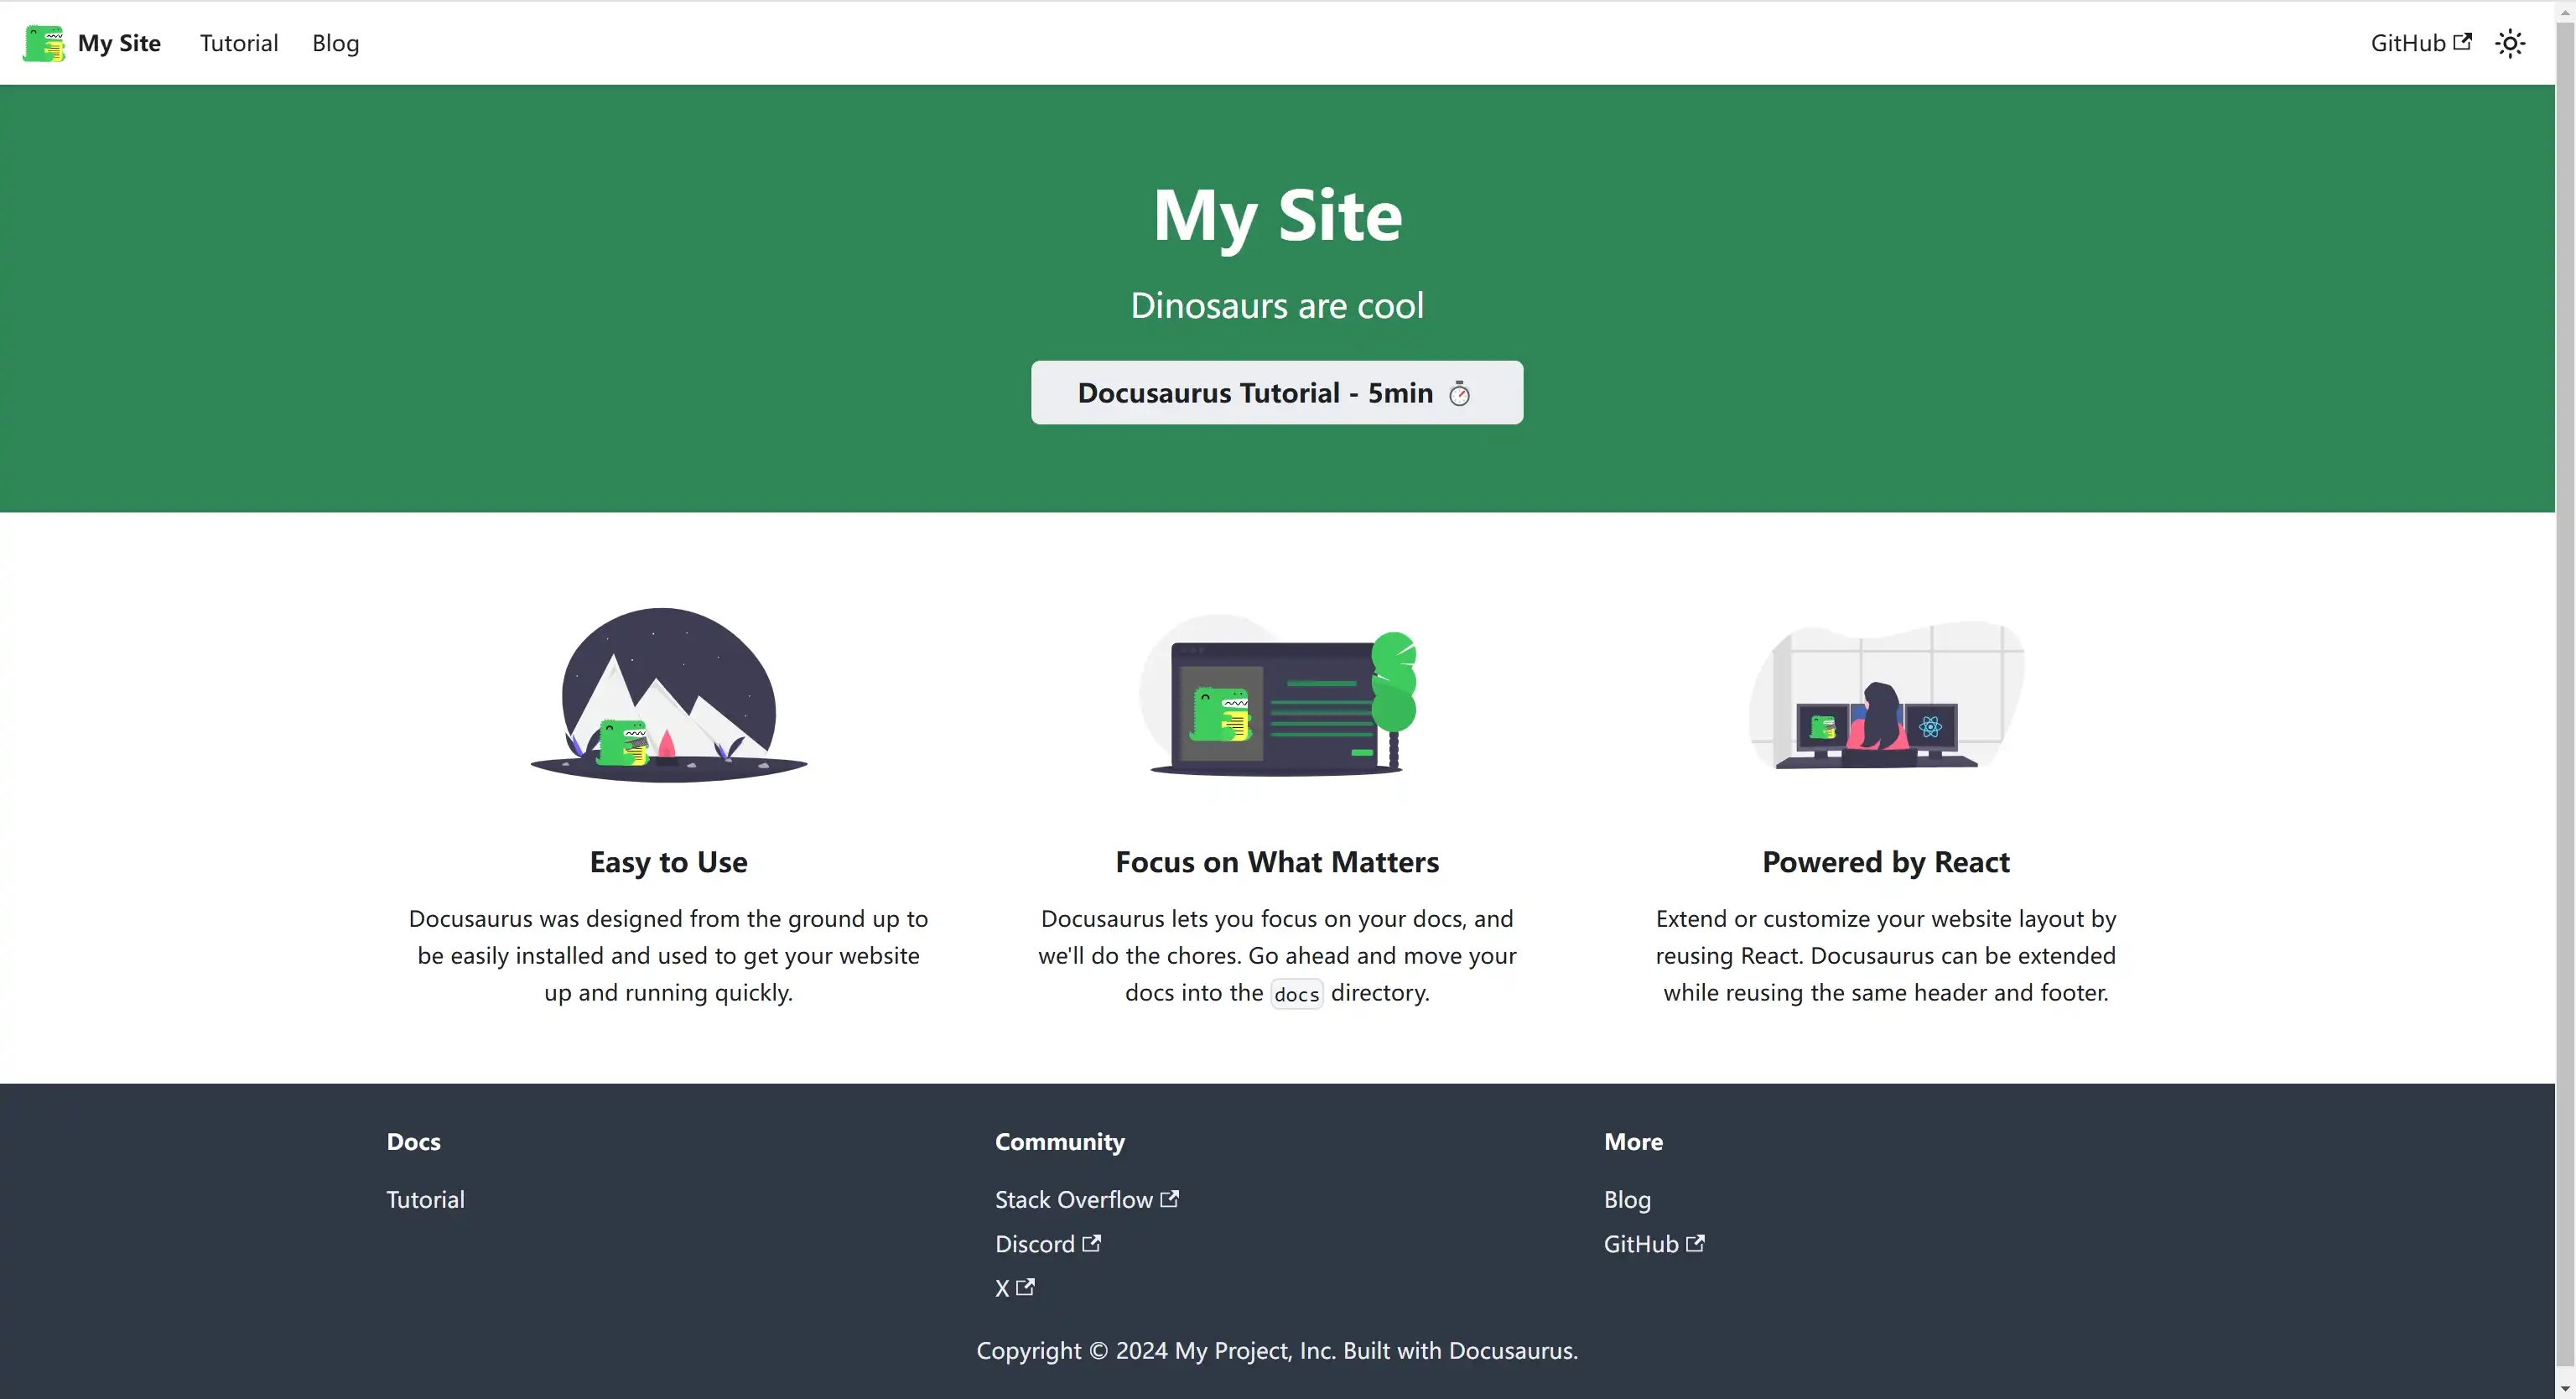
Once running, visit http://localhost:3000 to see the default Docusaurus page.

Blog-Only Mode
If you don’t need a dedicated landing page and want to display the blog's post list page as the homepage, you can make the following changes:
- Delete the
./src/pages/index.{js,tsx}file to avoid multiple files mapping to the same path. - edit
docusaurus.config.ts, set therouteBasePathfor the blog module to the root path/:
export default {
  // ...
  presets: [
    [
      '@docusaurus/preset-classic',
      {
        docs: false, // Optional: disable the docs plugin
        blog: {
          routeBasePath: '/', // Serve the blog at the site's root
          // ...
        },
      },
    ],
  ],
};
Internationalization
With tools like ChatGPT, managing and operating a multilingual blog has become much easier. Docusaurus has built-in i18n support, enabling you to add multiple languages with minimal setup.
1. i18n Configuration
export default {
  i18n: {
    defaultLocale: 'ko',
    locales: ['ko','zh-Hans', 'en'],
    localeConfigs: {
       'ko': {
        label: '한국어',
        htmlLang: 'ko',
      },
      'zh-Hans': {
        label: '中文',
        htmlLang: 'zh-CN',
      },
    }
  },
  themeConfig: {
    navbar: {
      items: [
        // ...
        {
          type: 'localeDropdown', position: 'left',
        },
        // ...
      ],
    },
  },
  // ...
};
2. Generate translation files
Use the write-translations command to automatically generate i18n directories and JSON files according to the configured languages, storing content for each language for subsequent translation.
npm run write-translations -- --locale zh-Hans
npm run write-translations -- --locale en
> my-site@0.0.0 write-translations
> docusaurus write-translations --locale en

[INFO] 78 translations will be written at "i18n/en/code.json".
[INFO] 5 translations will be written at "i18n/en/docusaurus-theme-classic/navbar.json".
[INFO] 10 translations will be written at "i18n/en/docusaurus-theme-classic/footer.json".
[INFO] 4 translations will be written at "i18n/en/docusaurus-plugin-content-docs/current.json".
[INFO] 3 translations will be written at "i18n/en/docusaurus-plugin-content-blog/options.json".
Articles in the default language specified by defaultLocale should be stored in the /blog directory. These articles can then be copied to the my-site/i18n/[locale]/docusaurus-plugin-content-blog directory for subsequent translation.
my-site/i18n/[locale]/docusaurus-plugin-content-blog
│
│ # translations for website/blog
├── authors.yml
├── first-blog-post.md
├── second-blog-post.md
│
│ # translations for the plugin options that will be rendered
└── options.json
SEO - Sitemap Configuration
This plugin is always inactive in development and only active in production to avoid polluting the analytics statistics.
Docusaurus integrates the plugin-sitemap by default. You can enable it with minimal configuration:
module.exports = {
  presets: [
    [
      '@docusaurus/preset-classic',
      {
        sitemap: {
          lastmod: 'date',
          changefreq: 'weekly',
          priority: 0.5,
          ignorePatterns: ['/tags/**'],
          filename: 'sitemap.xml',
          createSitemapItems: async (params) => {
            const {defaultCreateSitemapItems, ...rest} = params;
            const items = await defaultCreateSitemapItems(rest);
            return items.filter((item) => !item.url.includes('/page/'));
          },
        },
      },
    ],
  ],
};
When i18n is configured, each language generates its own sitemap.
Code blocks
Docusaurus has robust code block features. Although many programming languages are supported by default, some commonly used ones (e.g., Java, Bash) may require manual addition (default supported languages):
export default {
  // ...
  themeConfig: {
    prism: {
      theme: prismThemes.github,
      darkTheme: prismThemes.dracula,
      additionalLanguages: ['bash','java','properties']
    },
    // ...
  },
};
Additionally, you can use annotations like highlight-next-line, highlight-start, highlight-end forline-highlighting.
Google Integration
Google Analytics Configuration
This plugin is always inactive in development and only active in production to avoid polluting the analytics statistics.
Docusaurus integrates Google Analytics easily via the preset options:
module.exports = {
  presets: [
    [
      '@docusaurus/preset-classic',
      {
        gtag: {
          trackingID: 'G-999X9XX9XX',
          anonymizeIP: true,
        },
      },
    ],
  ],
};
Google Adsense Integration
Google Adsense can be integrated by loading the appropriate script. Use the Docusaurus Scripts feature to achieve this.
export default {
  scripts: [
    {
      src: 'https://pagead2.googlesyndication.com/pagead/js/adsbygoogle.js?client=ca-pub-XXXXXXX',
      async: true,
      crossorigin: 'anonymous',
    },
  ],
};
Migration
When transitioning to a new blog setup, changes in URL structures can lead to broken links. To prevent this, URL migration work is typically required, which can often be a concern.
Docusaurus allows for URL migration through the use of the slug setting in Markdown front matter or by employing redirection methods.
Front Matter - slug
Using the slug property in Docusaurus's front matter, you can freely configure the URL for blog posts or pages.
For example, by setting the slug value as shown below, you can change a URL in the format /2024/12/24/welcome to /welcome.
---
title: "welcome"
slug: "/welcome"
tags: ["docusaurus"]
---

my doc
Redirection
Redirection is another common approach for URL migration. Docusaurus supports client-side redirects.
For those experienced with SEO, you might already know that server-side redirects are more SEO-friendly than client-side redirects.
Server-Side Redirect (Recommended)
Using server-side redirects for URL migration ensures that there’s no impact on page ranking, as stated by Google.
Google documentation: General best practices for site moves
301, 302, and other server side redirects don't cause a loss in PageRank.
In contrast, client-side redirects can sometimes be misinterpreted by search engines, leading to incomplete evaluations of the redirected pages.
Please refer to the following document for redirection setup instructions based on your specific hosting method.
- Vercel: Vercel: redirects
- Netlify: Netlify: redirects
- Self hosting: Google Documentation
- GitHub Pages: Server-side redirects are not supported.
Client-Side Redirect
If server-side redirection isn’t feasible, or SEO isn’t a major concern, you can easily implement client-side redirection using @docusaurus/plugin-client-redirects.
Install the plugin:
npm install --save @docusaurus/plugin-client-redirects
Example configuration:
export default {
  plugins: [
    [
      '@docusaurus/plugin-client-redirects',
      {
        fromExtensions: ['html', 'htm'], // /myPage.html -> /myPage
        toExtensions: ['exe', 'zip'], // /myAsset -> /myAsset.zip (if latter exists)
        redirects: [
          // /docs/oldDoc -> /docs/newDoc
          { to: '/docs/newDoc', from: '/docs/oldDoc',},
          // Redirect from multiple old paths to the new path
          { to: '/docs/newDoc2', from: ['/docs/oldDocFrom2019', '/docs/legacyDocFrom2016'],},
        ],
        createRedirects(existingPath) {
          if (existingPath.includes('/community')) {
            // Redirect from /docs/team/X to /community/X and /docs/support/X to /community/X
            return [
              existingPath.replace('/community', '/docs/team'),
              existingPath.replace('/community', '/docs/support'),
            ];
          }
          return undefined; // Return a falsy value: no redirect created
        },
      },
    ],
  ],
};
Deployment (CI/CD)
For hosting platforms, Vercel, GitHub Pages, and Netlify are all great choices.
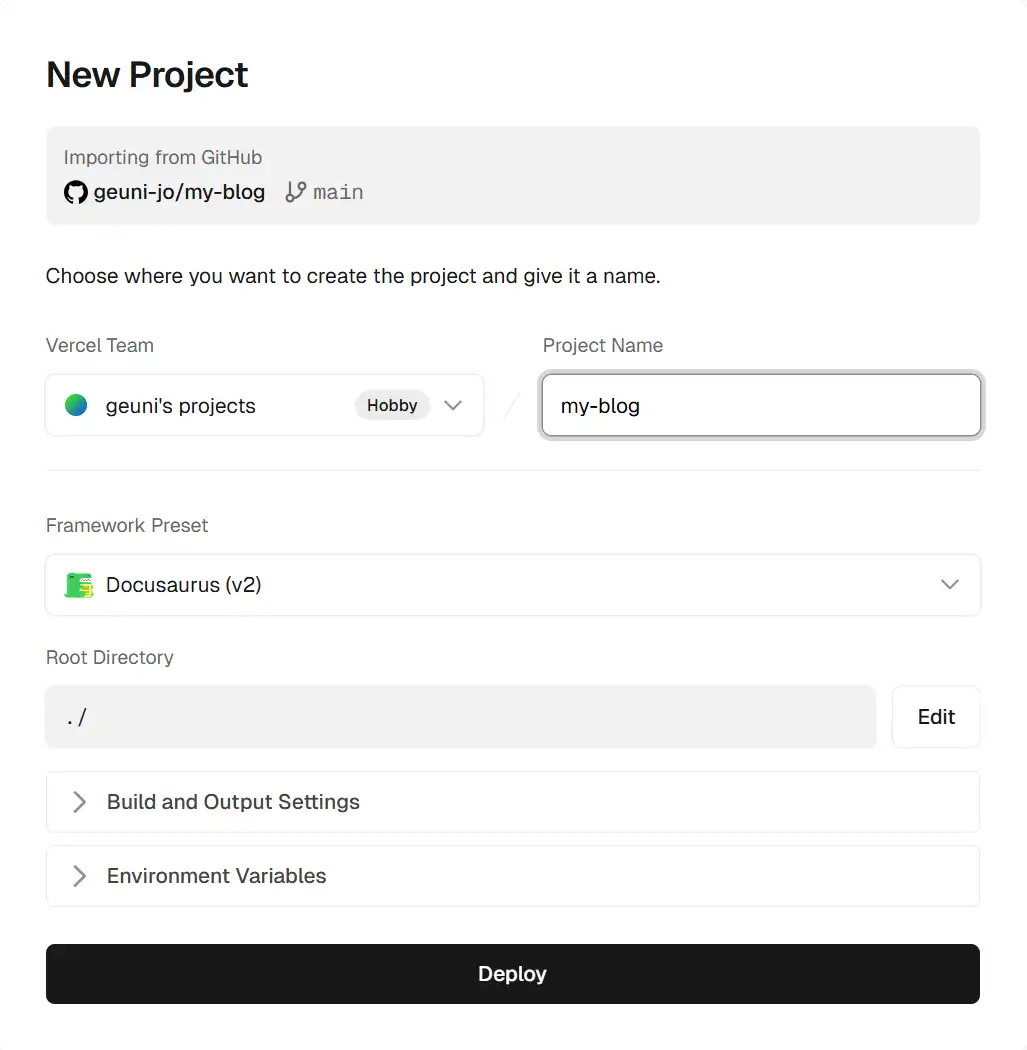
As a long-time Vercel user, I highly recommend it for beginners because of its extremely simple setup process. A few clicks can import a GitHub project and configure the CI/CD pipeline.
Official Guide: How to Deploy a Docusaurus Site with Vercel

Conclusion
It took me a weekend to complete the migration from Jekyll to Docusaurus.
In this article, I’ve summarized the key steps and practical tips from basic setup to migration. I hope this helps those who want to build their ideal website effortlessly.